Dimensional Signs - Tape Mount Installation
Learn how to install our dimensional letters and logos. View our video tutorial here or print a pdf of the following instructions to have on hand while you install your dimensional letters or logo with tape mounting here. If you have questions installing your dimensional signs, please contact our service department at 701.526.3835 or email us at service@officesigncompany.com
Tools needed for install:- Tape measure
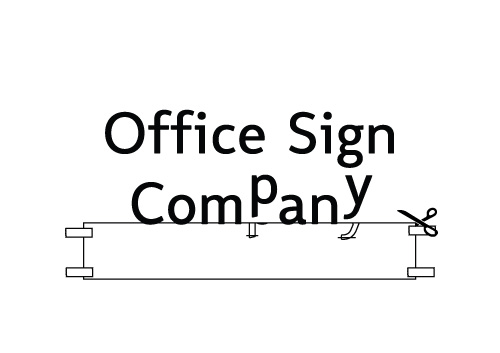
- Scissors to cut template
- Removable Masking Tape (To Hold Template onto Wall)
- Small bubble level (To Make Sure the Letters are Level and Straight)

Step 1: Position paper template exactly where you want the signage placed on the surface.

Step 2: Start at the top line of text and cut along line at the bottom of text.

Step 3: Remove liner from foam tape and gently apply letters to the surface. (DO NOT APPLY MUCH PRESSURE) Line the letters up with the bottoms of the cut off letter on the template. (For Descending letters you will need cut the template at the descender bottom after the other letters are attached.)
Step 4: Follow steps 2 and 3 for the next line of text. (For Descending letters you will need cut the template at the descender bottom after the other letters are attached.)

Step 5: Once all letters are applied to the surface you can look them over and make sure they are all level and straight. Once you are happy with them then apply firm pressure to the letters to make sure they are adhered to the surface

Additional Items Used for Install:
If surface is a rough surface you may need to use a silicone adhesive in very small quantities along with the foam tape to help the lettering adhere to the wall. The tape will hold the letters in place while the adhesive dries.